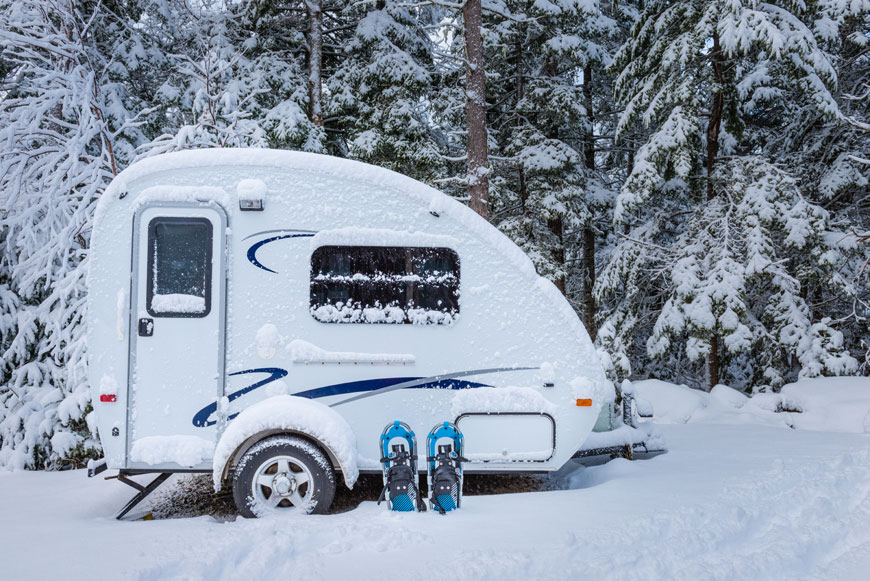
Those summer days are coming to an end, and the leaves are about to start falling. That means it’s time to think about winterizing your RV. If you are new to the RV world, you might be wondering, “Why do I need to winterize my RV”? It is a critical part of owning an RV that you do not want to skip. If you live somewhere, that has cold, freezing, snowy, or icy winters your RV can sustain extensive damage that will cost you a pretty penny when you’re ready to hit the road again next year. You might find damage to the drain traps, water pump, sink valves, and toilet. If any liquid is left in the drain lines, they can freeze and crack. So, it’s wise to be proactive and avoid the damage altogether.
What Supplies Do I Need to Winterize My RV?
To prepare for winterizing your RV, you will need to have a few items on hand.
- Basic hand tools to remove and reinstall things
- Non-toxic RV antifreeze – usually 2-3 gallons is enough
- Water heater bypass kit if one isn’t already installed
- Water pump converter kit
- A wand to clean holding tanks
Step 1: Drain the Water
To keep water from freezing in your lines during the winter, you will want to drain all of it. You can also back flush to ensure that all of it has been drained. The process of removing the water may seem like it requires multiple steps, but take care not to skip any of them.
- Remove any inline water filters and bypass.
- Drain the fresh water holding tank as well as the black and gray water holding tanks. Not all RVs have built-in tank flushing systems, so here you can use a wand to complete this step. Then lubricate the termination valves with a bit of WD-40.
- Drain the water heater by removing the drain plug and opening the pressure relief valve. Please note that you should NEVER drain the water heater while it is under pressure or hot.
- Open all the hot and cold faucets, including the shower and toilet valve.
- Open the low point drain lines and use the water pump to force water out if you need to.
- Close all faucets and recap the drains.
Step 2: Add RV Non-toxic Antifreeze
If this is your first time winterizing an RV, please be aware that you should only use RV specific antifreeze rather than regular automobile antifreeze. RV antifreeze is pink in color and non-toxic. Most RVs will need two or three gallons. Check with your manufacturer recommendation, as the exact process may be slightly different than what is listed below, but in general, the steps are:
- Bypass the water heater to keep antifreeze out of there; otherwise, you will need closer to 6 gallons as it will fill up the water heater with antifreeze first.
- Disconnect the inlet side of the water pump or install a water pump converter kit. Connect a clear piece of tubing to the inlet side of the pump and place the other end into one of the gallon containers of RV antifreeze.
- Turn on the water pump to begin pressurizing the system, then starting with the faucet closest to you, slowly open the hot and then cold valves until you see antifreeze. You will repeat this for all faucets as well as the shower. During this process, you may need to change out the antifreeze container to a new one.
- Flush the toilet until antifreeze appears.
- Turn off the water pump and open one faucet to release pressure from the system.
- Go outside to the city water inlet, remove the small screen, and push in the valve until you see antifreeze, then replace the screen.
- Put some antifreeze in a cup and pour it into each drain, about 1 cup per drain, and about 2 cups in the toilet. Then flush the toilet to pull antifreeze into the holding tank.
Step 3: Prep the Interior
You will want to protect the interior of your RV during winter as well. No one wants to open the doors next season only to find rats, spiders, and other critters cozying up inside.
- It is recommended to control moisture by placing something like Damp-Rid inside to keep mildew from forming.
- Spraying for bugs may prevent you from finding that a family of spiders, roaches, or other creepy crawlers made their home in your RV. Spiders, in particular, are attracted to the smell of propane, so cover the stove burners in plastic and cap the ends of any propane lines leading outside.
- Remove all food and drink items to minimize any temptation critters will have to try and get inside. Don’t forget to defrost your freezer and wipe it dry so there is no standing water that could attract bugs.
Step 4: Protect the Exterior
If you live in an area where the winters are anything but mild, you will also want to protect the outside of your RV.
- Close all vents on the roof and examine it for any damage or leaks that may need repair.
- Check the seals around exterior windows and doors and re-caulk where necessary.
- Keep your RV protected either by parking it under a shelter or using an RV cover, especially if you live in an area that gets snow or freezing rain.
Well Worth the Work
Winterizing your RV may sound like a huge undertaking, but it will be worth the time and effort when you prepare for your first trip of the next season. We hope these tips were helpful, but as always, we recommend checking in your owners manual to determine if there are any steps not mentioned here that are necessary to winterize your specific RV.

