The SwayPro is an innovative product that is a weight-distribution hitch that also prevents trailer sway. It does this by using loaded spring bars, easy to use rotating latches, and an integrated hitch head.
How Does SwayPro Work?
When your trailer would begin to sway due to wind or other varying factors, it puts a heavier load on one of the bars. As this happens, the spring bars pivot on the hitch head and balance each other out, preventing the motion from starting and giving you trailer sway control. The SwayPro also takes care of weight distribution at the same time by putting more weight onto the front tires of your towing vehicle. This increases braking and steering control for a safer driving experience.
Installing SwayPro
Below are the 12 basic steps for installing SwayPro. For the complete installation instructions, please refer to the SwayPro Owner’s Manual.
- Park the towing vehicle and trailer in a straight line on firm, level ground. Air-ride shock absorbers, air springs, or automatic leveling systems on towing vehicle should be disabled or deflated to the manufacture’s minimum recommended pressure prior to SwayProTM installation. Unhook the trailer from the towed vehicle and level. Remove the existing receiver hitch.
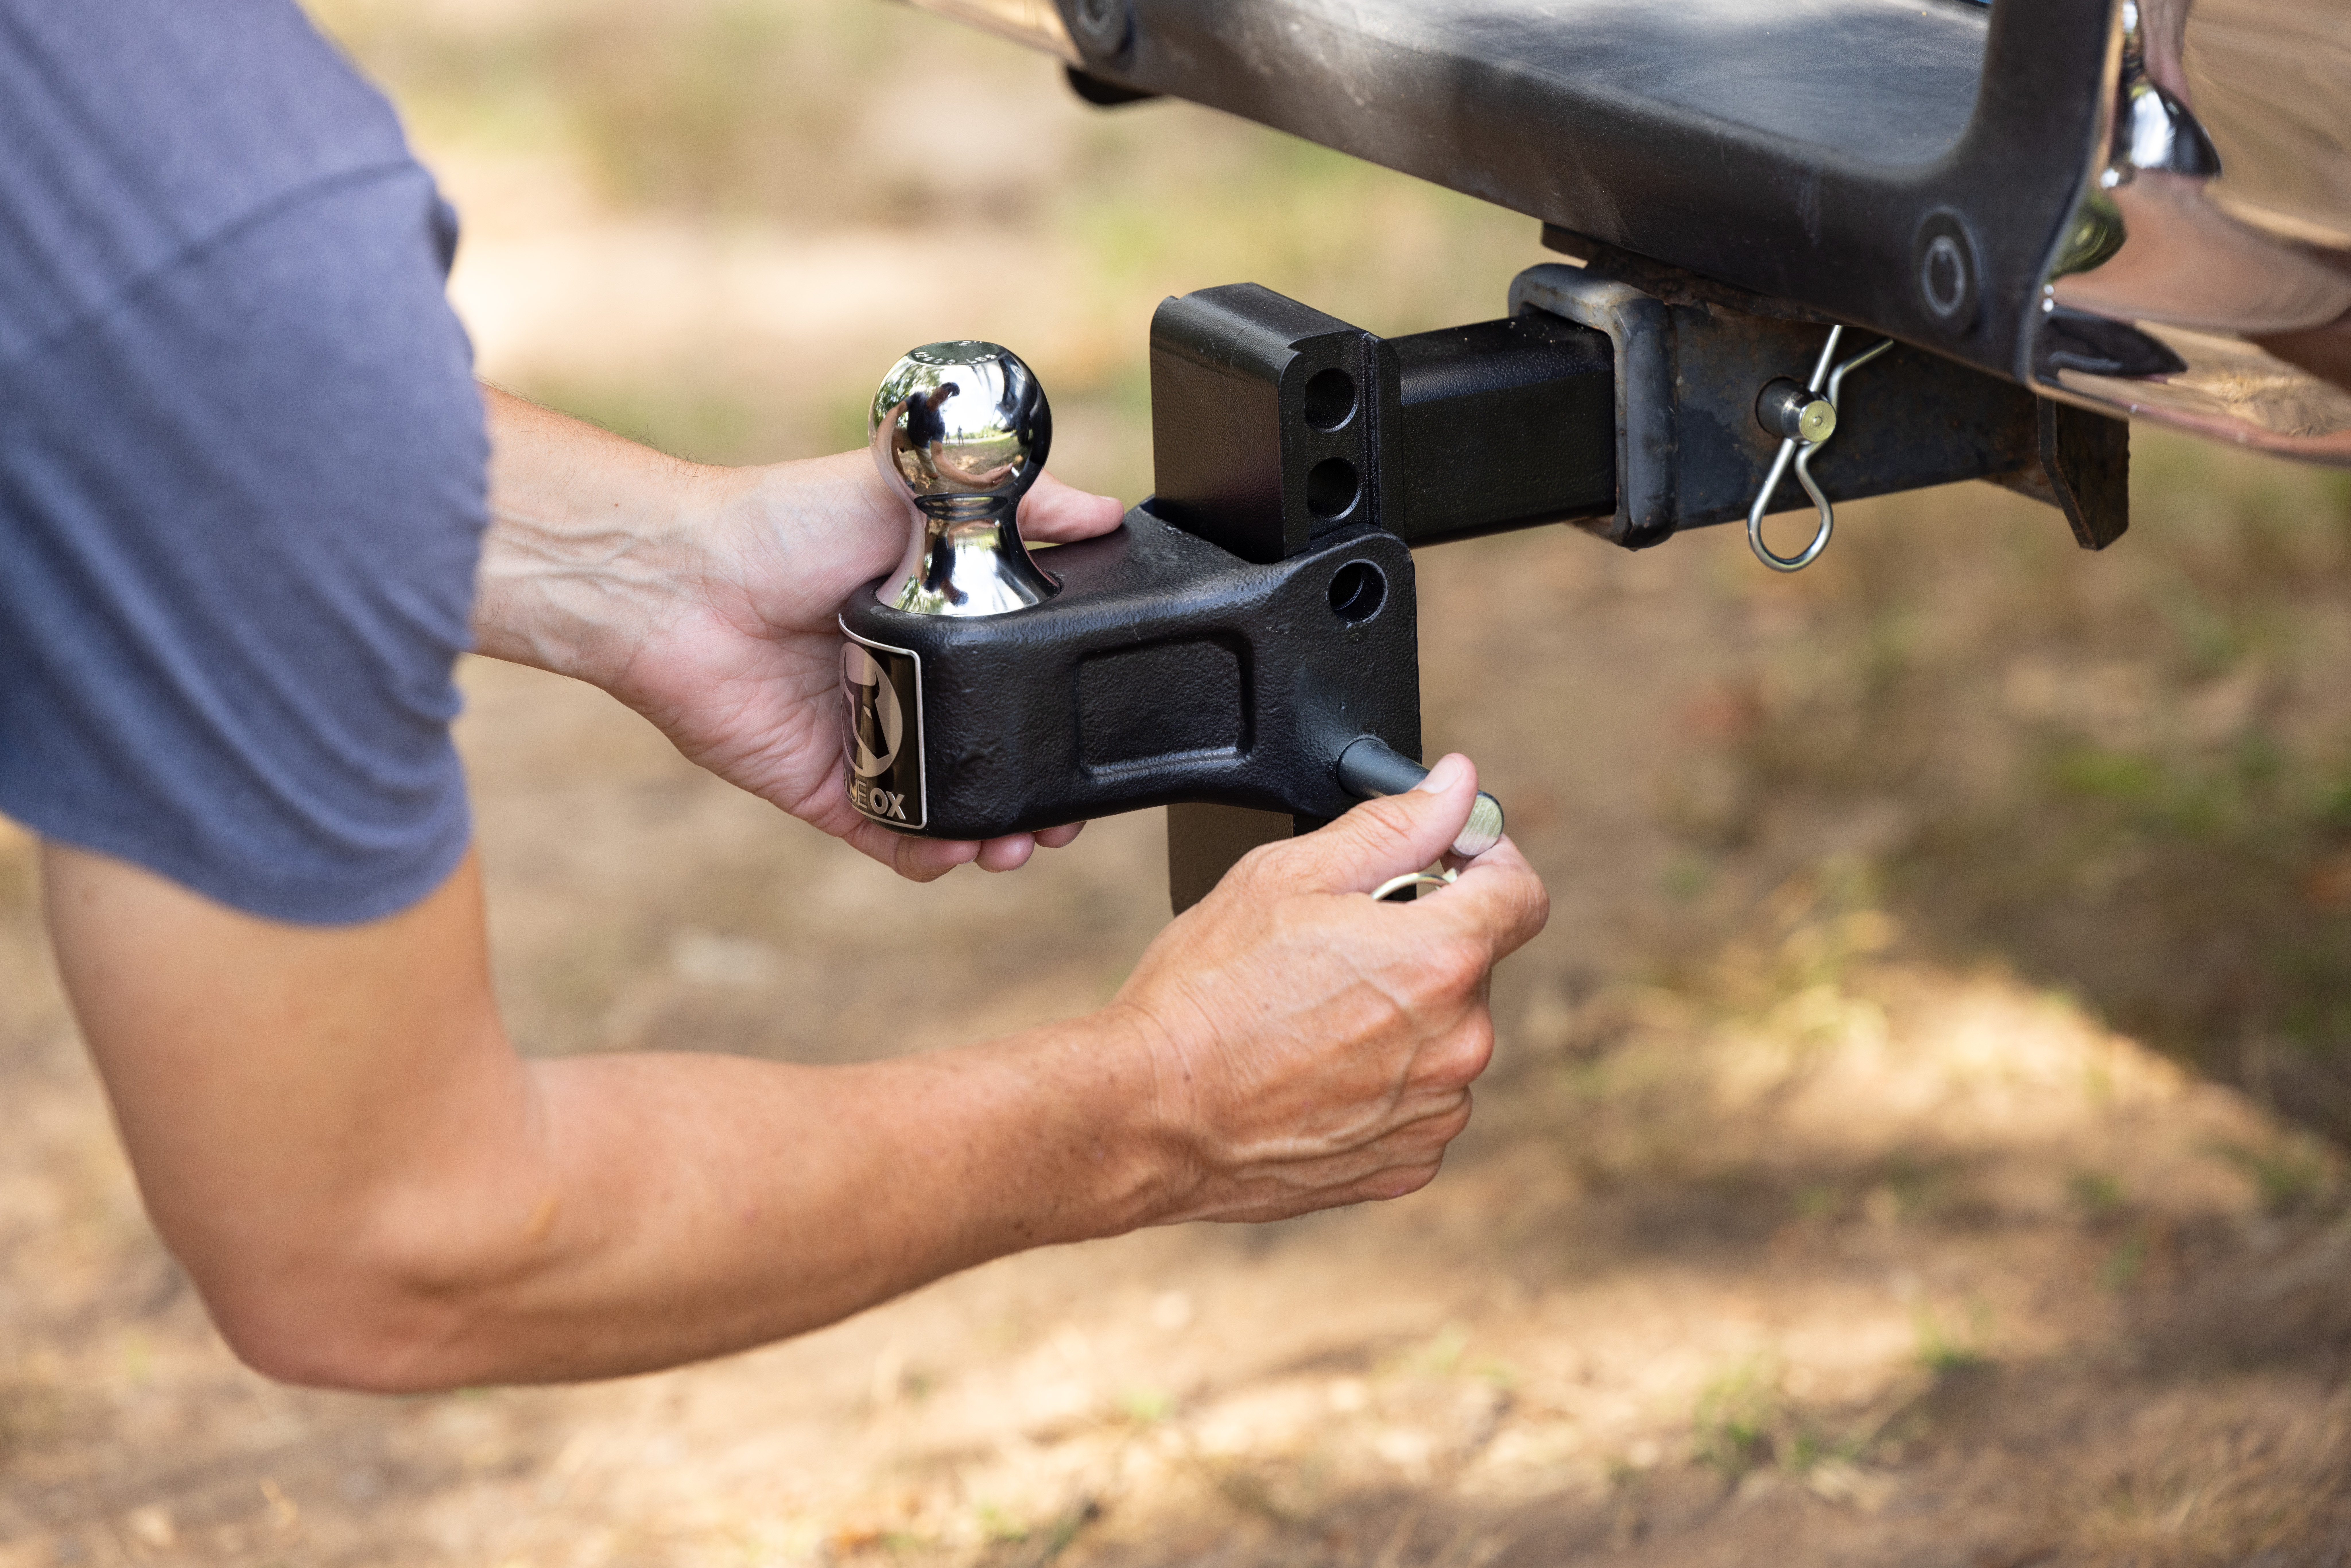
- Insert the hitch mount receiver shank into the towing vehicle receiver and secure with the 5/8” x 3” pin and clip.
- Install the appropriate ball (not provided) to match the coupler onto the hitch head per ball manufacturer’s instructions. Use the 1.031” ID spacer tube for 1” ball shank. The hitch ball capacity must meet or exceed the gross trailer weight rating.
- Level the trailer and then measure the coupler height. Install the hitch head onto the receiver shank, using the 3/4”-10 bolts, 3/4” lock washers and 3/4”-10 hex nuts. Measure the hitch head ball height. The ball height needs to be the same or 1” higher than the trailer coupler height, adjust as necessary. Torque the 3/4”-10 bolts to 257 ft/lbs.
*Note: Ram Truck owners please reference the Trailer Towing section of your vehicle owner’s manual for proper hitch set-up instructions. Also, it is recommended for optimal towing performance to set the ball height 2” higher than the top the trailer coupler.
- Couple the trailer to the hitch head by placing the trailer coupler onto the hitch ball per the manufacturer’s instructions.
- Measure 29” back from the center of the ball coupler and mark this point on the trailer tongue frame work on both sides. Center and mount the rotating latches to the trailer frame over the marked areas. Remove or relocate any obstructions on the trailer tongue framework if necessary. Finger tighten the bolts on the rotating latch at this time.
- Insert the spring bars into the bar pivots until the manual release pins snap closed and locks the bars in place.
- Confirm that the rotating latches are in the proper position, torque the 1/2”-13 square head set screws against the trailer tongue framework to 40 ft/lbs and tighten the jam nut. (Do NOT use Loctite® Red on set screw.)
**IMPORTANT: The spring bar chain must be straight up and down in the center of the rotating latch when the towing vehicle and trailer are aligned. Reposition the rotating latch along the trailer frame if necessary.
- Release the rotating latch by rotating or pulling out on the lock pin handle. Rotate the bracket using the wrench that was provided and turn clockwise until the chain slot is on the bottom. Insert the 9th chain link from the top (opposite the u-bolt) into the slot of the latch. Using the wrench, rotate the latch counterclockwise until the lock pin engages in the lock pin hole.
*Note: Adjustments to the number of links used may be necessary due to certain driving conditions and/or changes to the trailer after the initial setup. Advancement to the 10th or 11th link from the top is recommended to compensate for these changes.
*Note: Caution must be used when unlatching due to the potential of injury if the tension of the spring bar is suddenly released the wrench will rotate quickly. Hold the wrench firmly as the rotating latch bracket will rotate downward causing a quick jerk on the wrench. Rotate slowly and firmly.
Leveling the Towing Vehicle
- Determine if the towing vehicle is level. If necessary, adjust the chains links.
A. Support the weight of the trailer tongue with the trailer jack.
B. Unlock the rotating latch bracket and release the spring bar tension on the chains.
C. Adjust chain to tighten or loosen one (1) link at a time.
D. Reapply the spring bar tension on the chains by using the wrench to rotate the rotating latches in a clockwise direction until the lock pin engages in the lock pin hole.
E. Lower the front of the trailer allowing the tongue weight of the trailer to be supported by the towing vehicle.
Repeat the above steps until the towing vehicle is level.
- If the trailer is not level, determine how much and in which direction. Each hole raises or lowers the front of the trailer 1-1/2”. Level the trailer by:
A. Support the weight of the trailer tongue with the trailer jack.
B. Unlock the rotating latch bracket and release the spring bar tension on the chains.
C. Uncouple the trailer.
D. Remove the 3/4” fasteners from the hitch head.
E. Move the hitch head on the receiver hitch mount either up to raise the front of the trailer or down to lower the trailer.
F. Replace the 3/4” fasteners in the appropriate holes and torque to 257 ft/lbs.
G. Couple the trailer to the hitch.
H. Support the weight of the trailer tongue with the trailer jack.
I. Reapply the spring bar tension on the chains by using the wrench to rotate the rotating latches in a clockwise direction until the lock pin engages in the lock pin hole.
J. Lower the front of the trailer allowing the tongue weight of the trailer to be supported by the towing vehicle.
Repeat the above steps until the trailer is level.
- Verify that the trailer and the towing vehicle are level. If not, see the Troubleshooting section of your owner’s manual.
Try SwayPro Today
Now that we’ve covered how easy it is to install SwayPro, don’t you want to try one for yourself? SwayPro is the most user-friendly trailer sway prevention system on the market today. Once you have it installed, hook-up and disconnecting is also a breeze! Join the other 65% of vehicles on the road who trust the safety, quality, and durability of Blue Ox products for trailer sway control. For questions about ordering a SwayPro or any other Blue Ox products, please contact our Customer Care team.


