How to Install Tow Hitch Brake Lights for Dingy Towing
Keeping your towed vehicle visible to other motorists is an essential part of traveling safely with an RV. Learn about why you need a flat tow wiring harness and how to choose the right one. All vehicles towing a trailer require turn signals, brake lights or other necessary electrical systems. With the correct wiring harness it makes it easy to set up the trailer connector wiring to safely connect the towing brake lights and taillights.
Increase Safety When Flat Towing
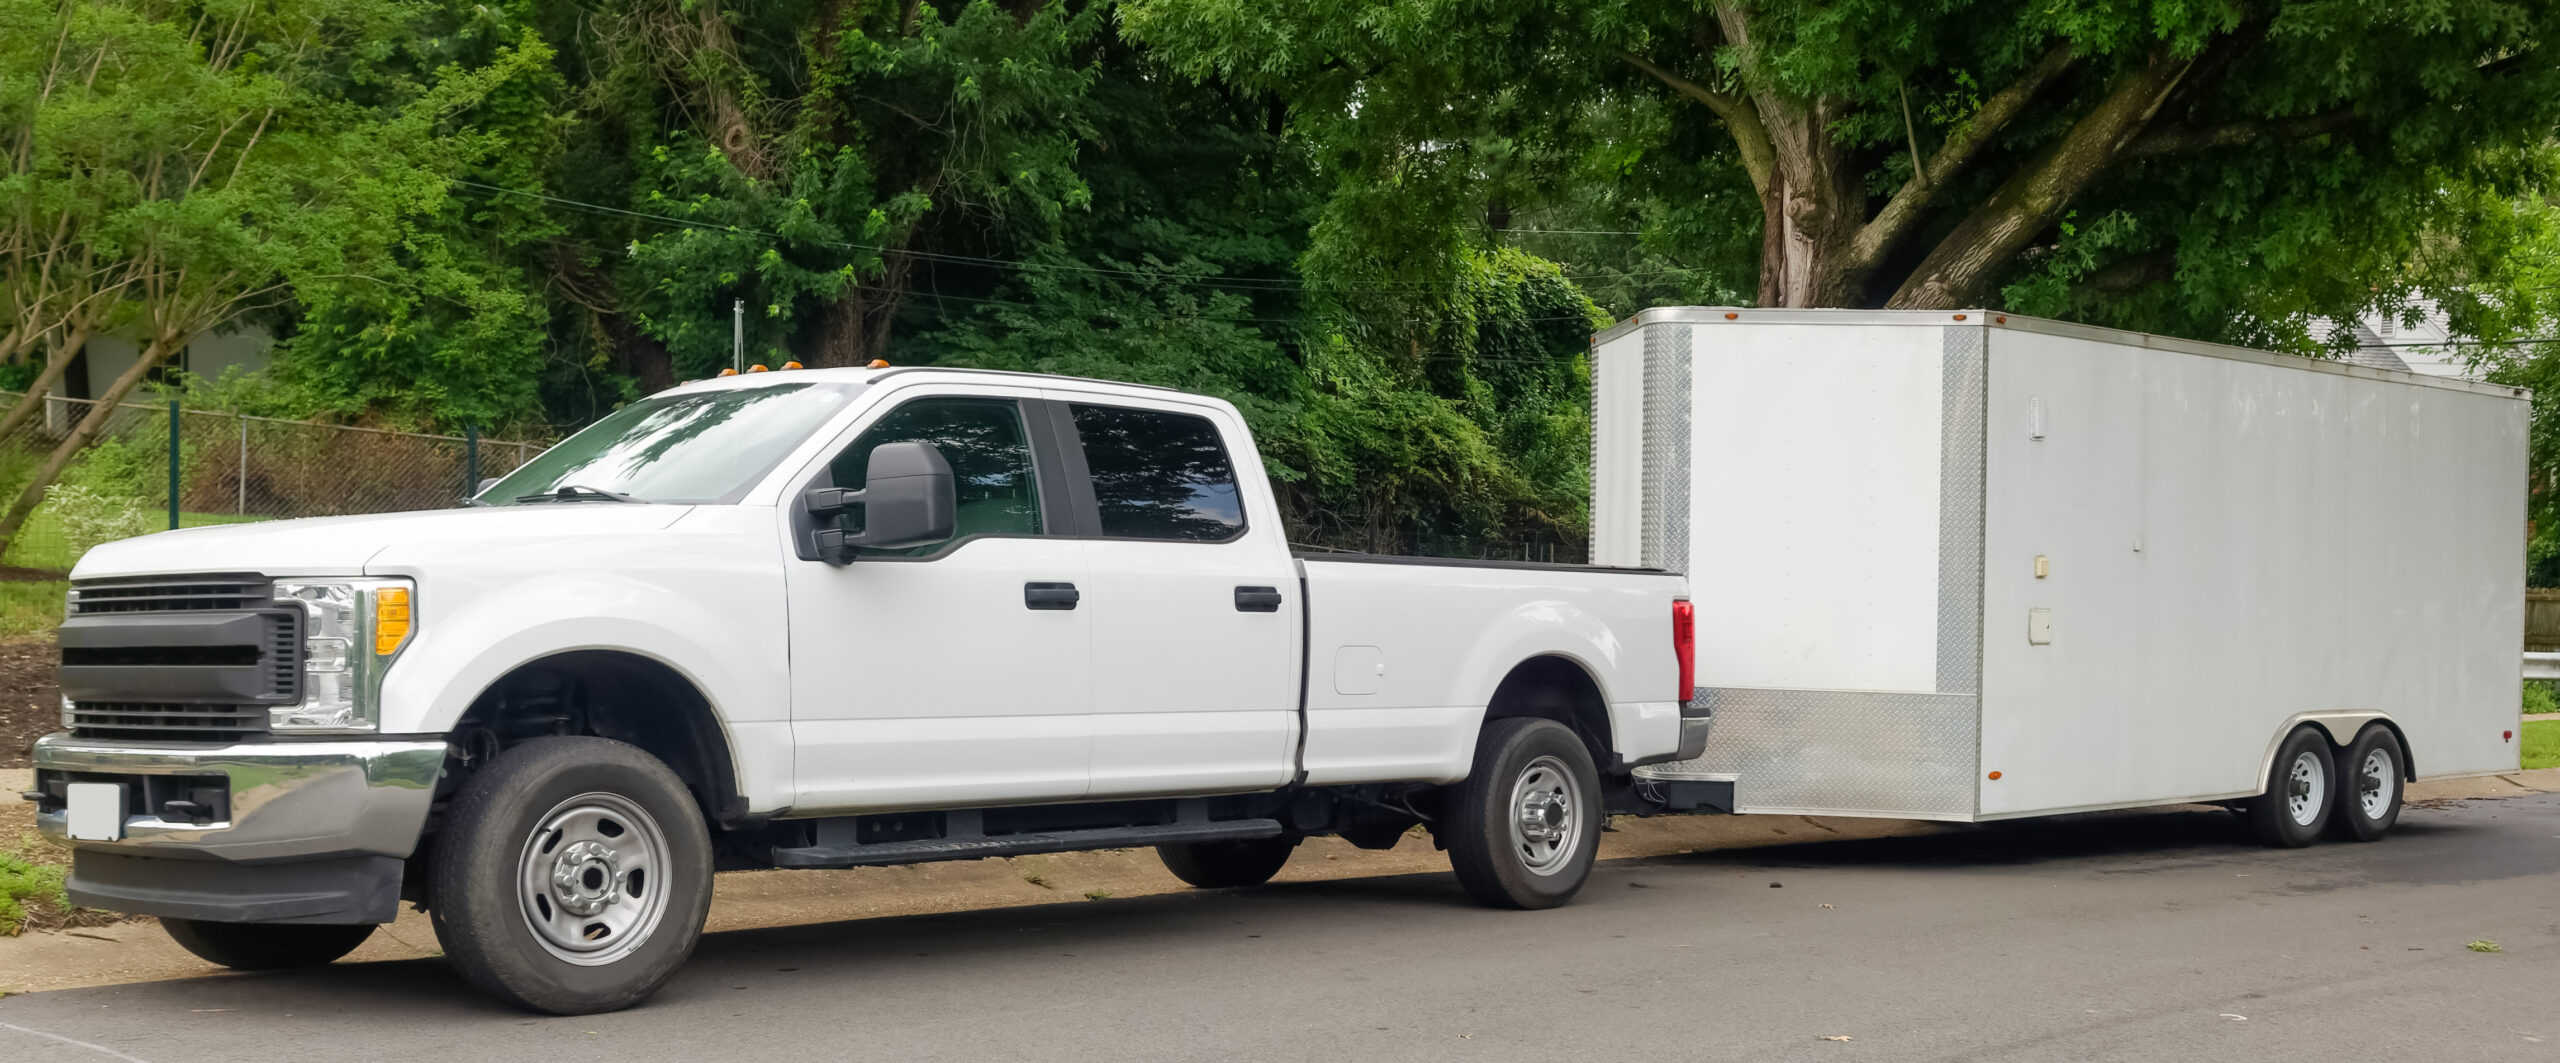
Safety is always the #1 priority when it comes to flat towing and driving on the road in general. Without connecting your wiring properly, other motorists on the road may not recognize that you have a dinghy in tow. This could cause them to not brake soon enough if you are stopping, and they could rear-end you. When you are driving an RV and flat towing, you will need more time to stop, and drivers behind you need to know immediately that you are braking.
What is a Flat Tow Wiring Harness?
Regardless of what kind of motorhome you have or vehicle you are flat towing, proper wiring is a must. In fact, it’s the law. A dinghy without lights does not meet the requirements necessary and should not be on the road. A flat tow wiring harness will allow you to connect the RV’s electrical system to the dinghy so it can draw power directly from the RV.
How To Choose The Right Flat Tow Wiring Harness
A flat tow wiring harness needs to be for your specific vehicle’s make and model since every vehicle has its own electrical system. To be flat towed, some vehicles may need the battery disconnected or specific fuses removed. A flat tow wiring harness gives you the ability to solve these issues easily and power the tail lights, turn signals, and brake lights. The EZ Light Wiring Harness only takes about 15 minutes to set up and there are options available for a huge selection of different vehicle makes and models.
How to Install a Flat Tow Wiring Harness
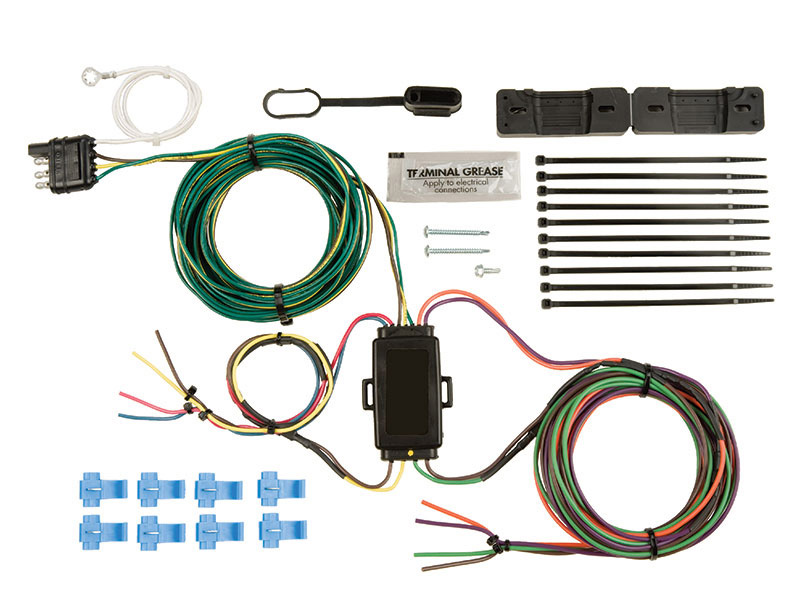
Installing a Blue Ox EZ Light Wiring Kit is quick and easy. Simply follow these instructions:
- Remove the vehicle’s tail light housings on both the driver and passenger side by removing the fasteners holding them into place. Pull the tail light housings away from the vehicle, being careful not to break the alignment tabs or housing.
- Install the converter on driver’s side behind the driver side tail light.
- On the driver side, route the T-Connector end with green wire to the passenger’s side and up through the opening on the passenger side, being careful to avoid any hot pipes, heat shields, the fuel tank, or any other points that may pinch or damage the wire.
- Identify the tail light and brake light wiring on driver and passenger side of vehicle. Using wire cutters, cut tail light and brake light wires on each vehicle side, leaving at least 2-3” of wire on each side of the cuts.
Wiring Connection
5. On driver side, using provided scotch-lock connectors, connect the wires as follows:
- Blue: Tail light wire from vehicle wiring harness.
- Red: Brake light wire from vehicle wiring harness.
- Brown: Tail light wire going to tail light assembly.
- Yellow: Brake light wire going to tail light assembly.
- On passenger side, using provided scotch-lock connectors, connect the wires as follows:
- Purple: Tail light wire from vehicle wiring harness.
- Orange: Brake light wire from vehicle wiring harness.
- Brown: Tail light wire going to tail light assembly.
- Green: Brake light wire going to tail light assembly.
- Using zip ties secure any loose wiring behind both taillight assemblies in a secure spot.
- Route the 4-way flat harness to the vehicle’s grille area securing it as needed with zip ties.
- Reinstall the tail light housings to the vehicle, positioning the wire harness between the housing and the vehicle body. Secure the remainder of the T-Connector harness in a secure area with zip ties.
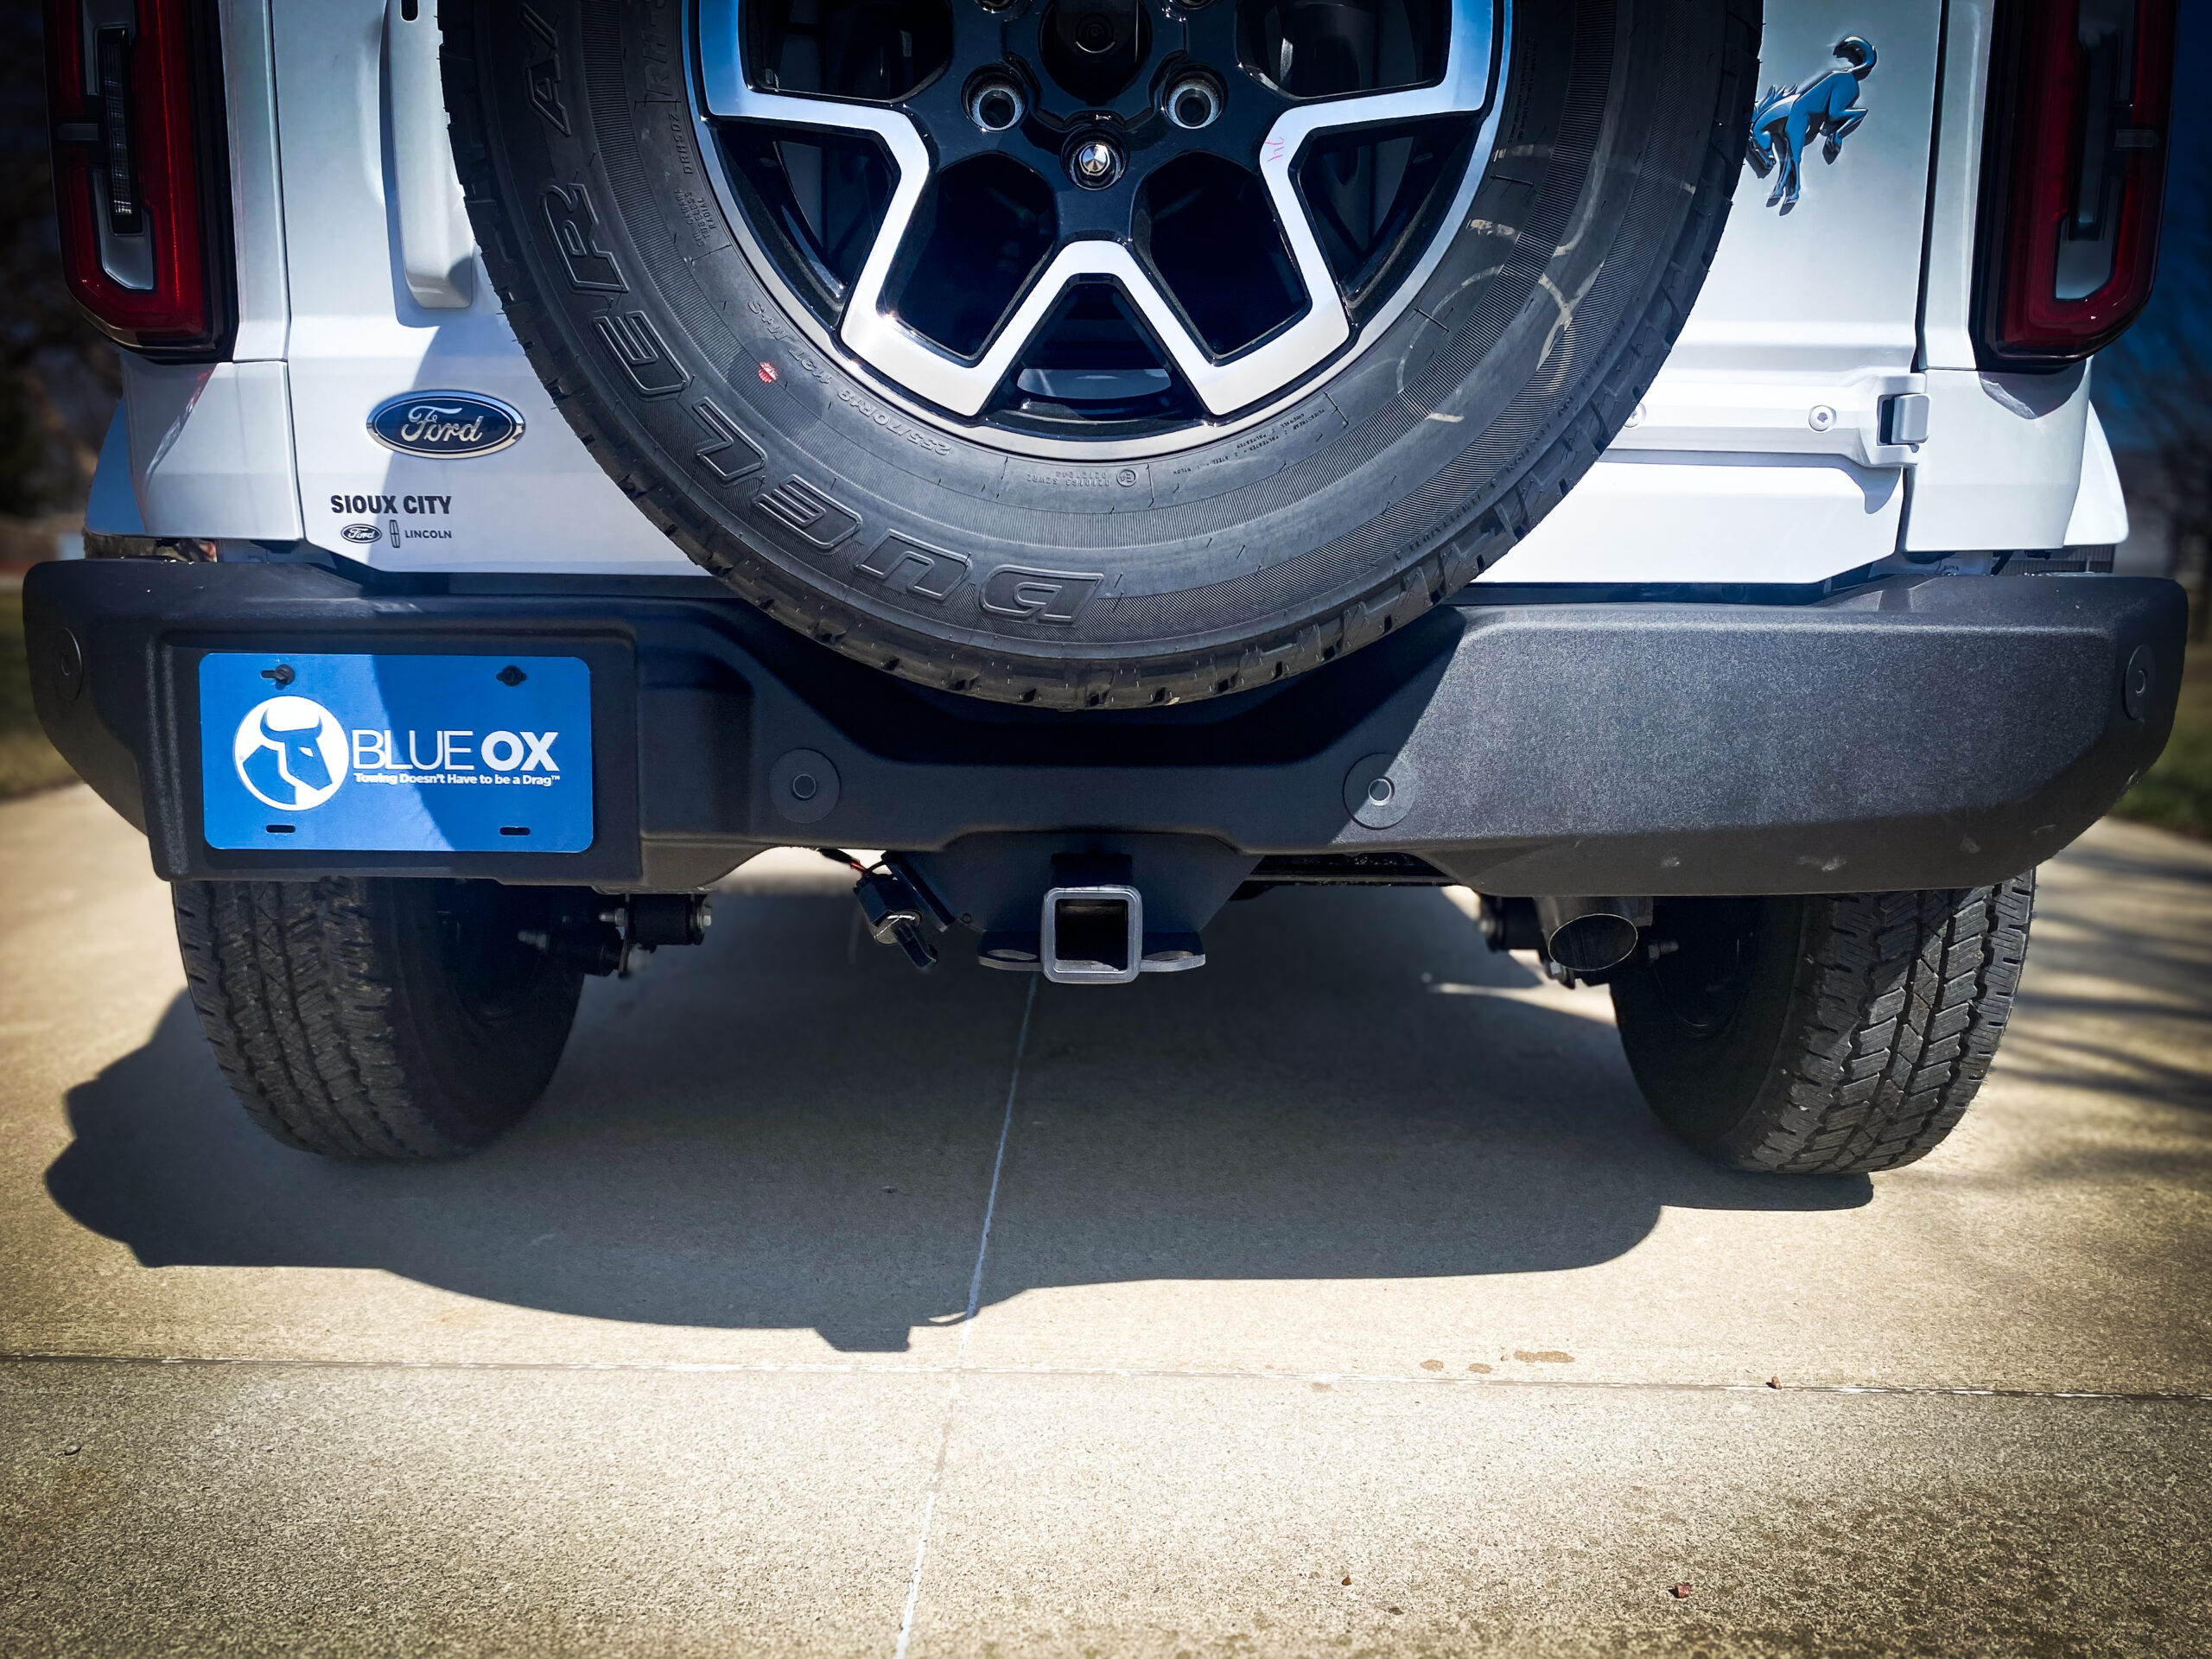
- Attach the 4-way bracket in a convenient location near the grille to make it easier to plug in the 4-flat extension.
- Install the 4-flat end of harness (from the rear of vehicle) into the 4-flat bracket.
- Locate a suitable grounding point near the connector. Clean dirt, paint, and any rust-proofing material from the area. Drill a 3/32” hole and secure the white wire with ring terminal using the screw provided. Do not drill into any exposed surfaces or the vehicle floor or bed.
- Apply a small amount of dielectric grease to the 4-way flat terminals to prevent corrosion.
- Test all functions with the engine running to ensure proper operation.
Installation Notes: Vehicles with trunks or hatches may route harness going to passenger side under carpet or threshold in place of routing under vehicle.
Increase Safety When Flat Towing with Blue Ox
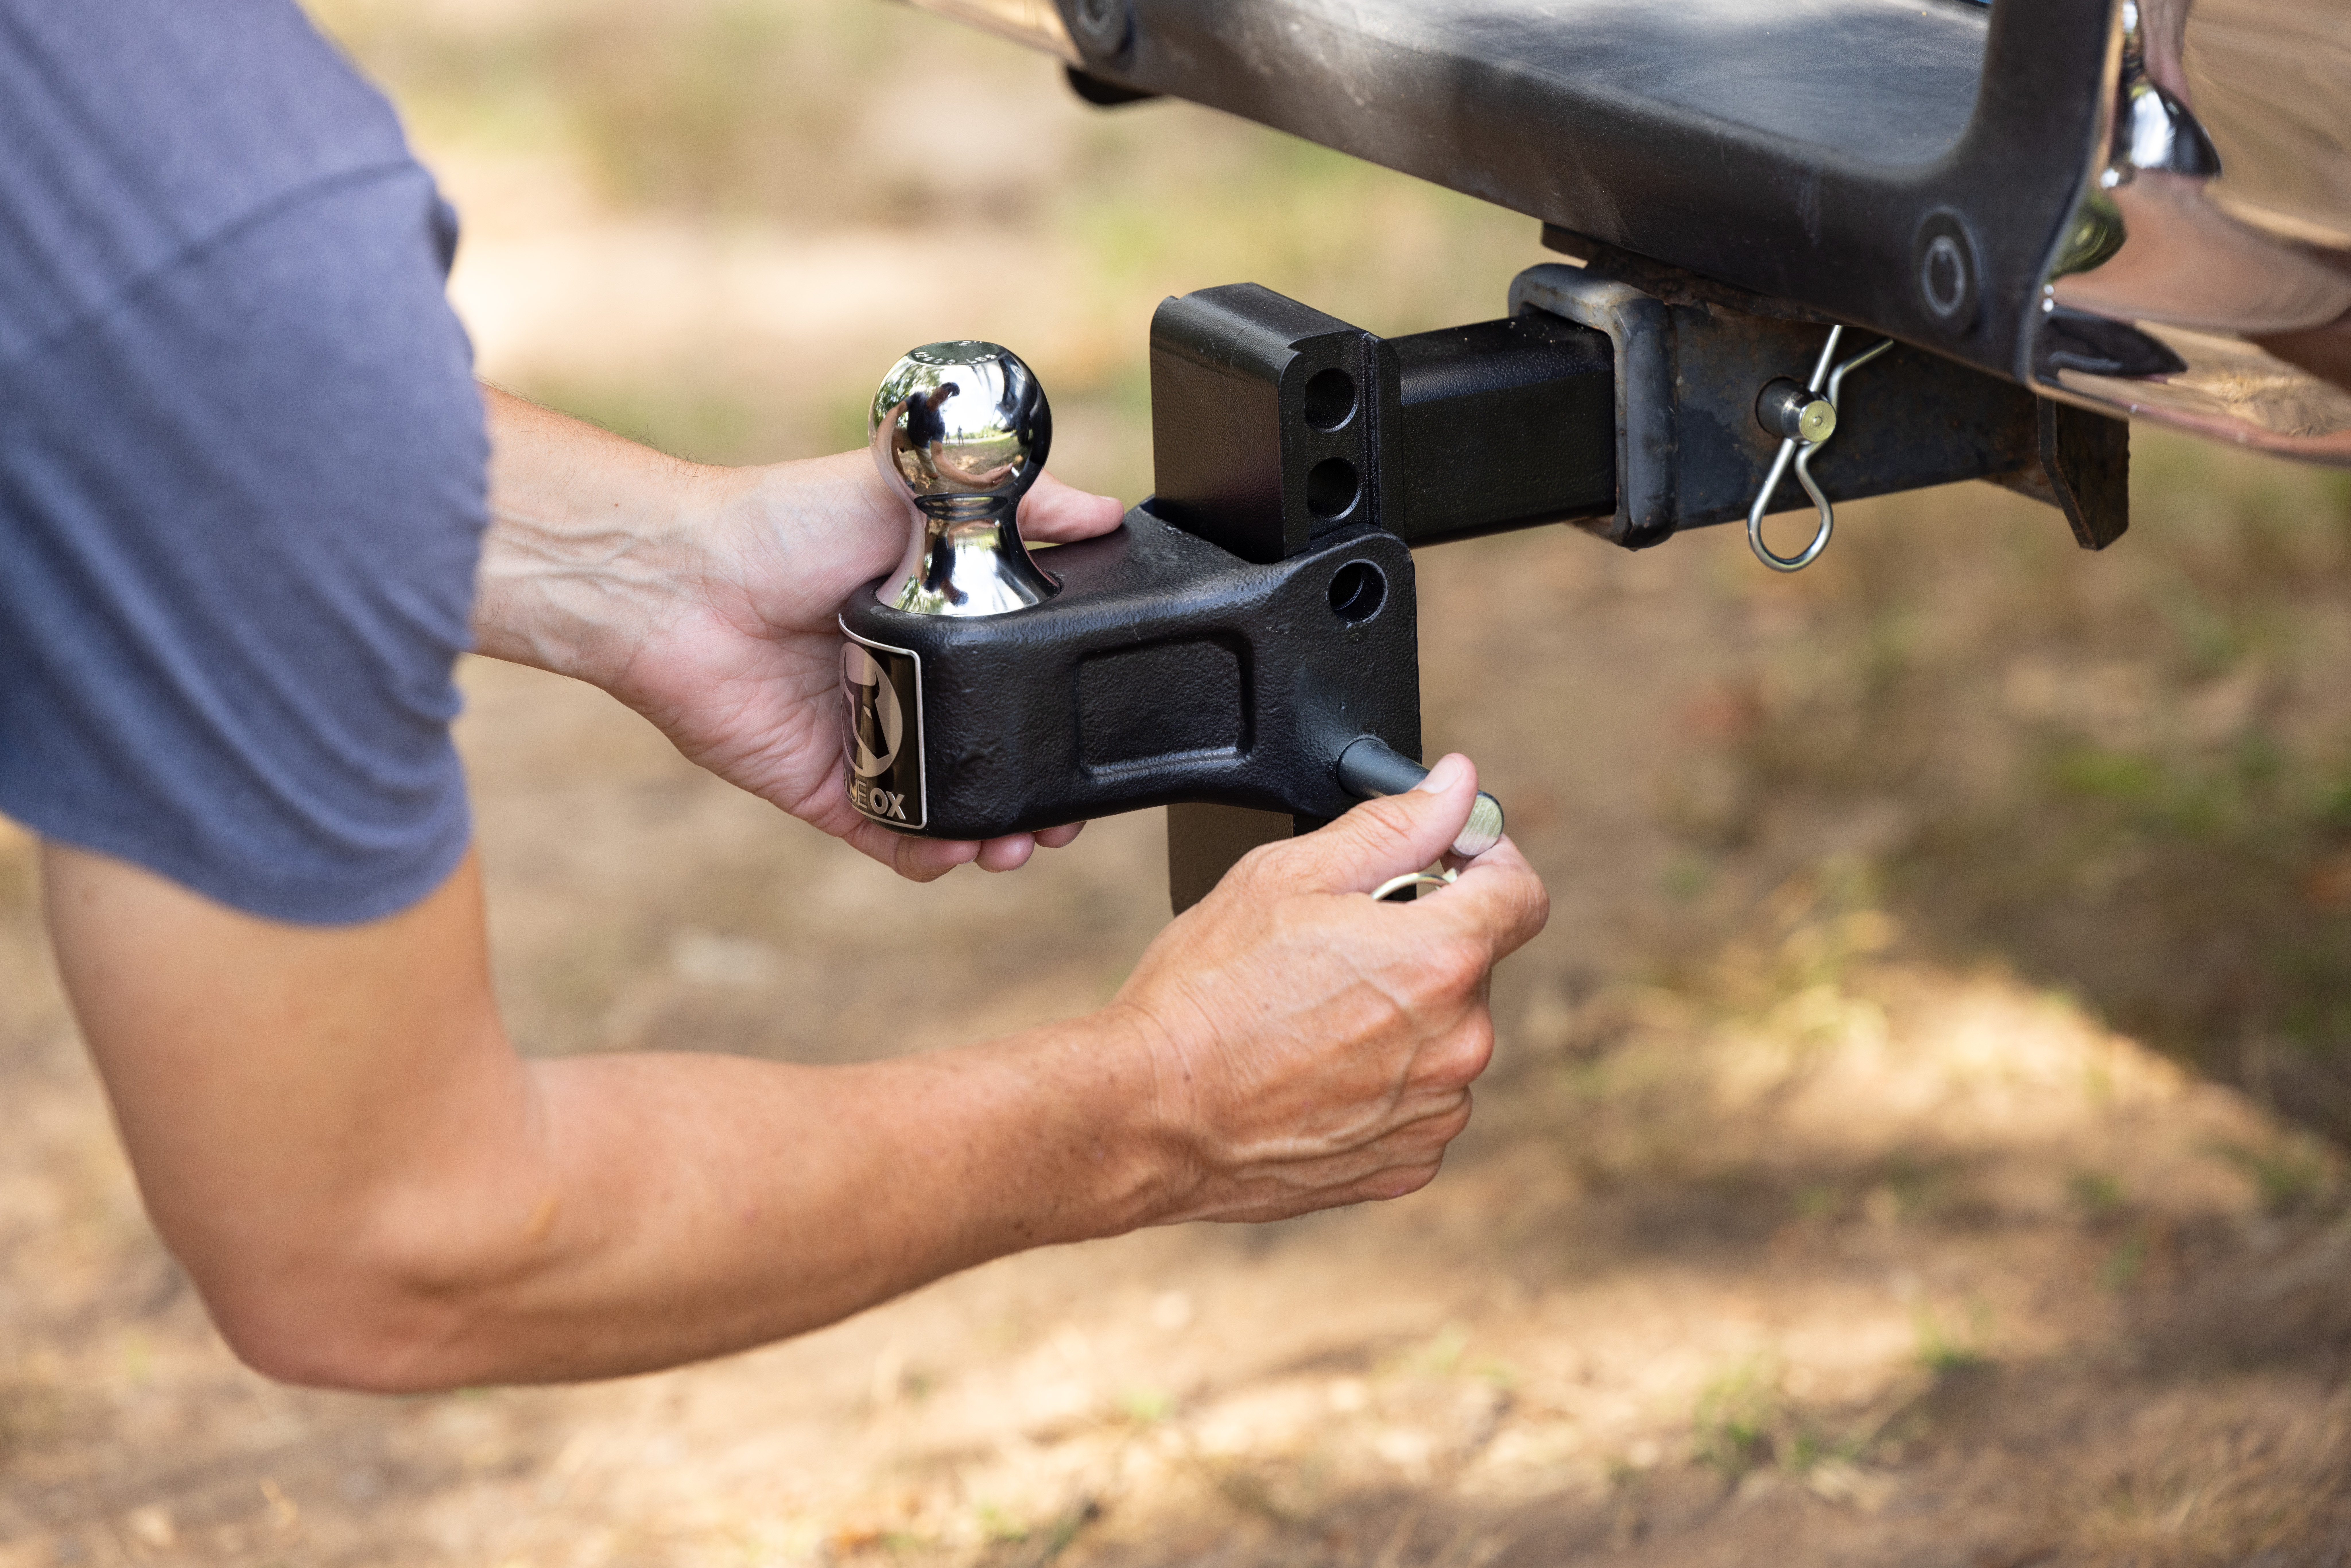
The Blue Ox EZ Light Wiring Kit helps you stay safe and keep your dinghy visible on the road. Check out the other flat towing accessories, coiled cable extensions, drop receivers and more. Join the millions of Americans who trust Blue Ox. Easily search BlueOx.com to find the wiring harness for your vehicle’s make and model specifications.

